Getting started·Start here
Get started with WATeamInbox Cloud
Create a workspace, verify your email, and make your first WhatsApp or Telegram inbox ready for the team.
This is the quickest path from a blank account to a team that can answer a real customer. You do not need to invite the whole company or design the perfect workflow on the first day. Start with one channel account, one teammate, and one conversation you can follow from start to finish.
What you need
Before you begin, have these three things nearby:
- a work email you can verify
- a WhatsApp number or Telegram bot you can safely use for a first test
- the name of the workspace your team will work in
If you choose WhatsApp, start with a number that is not your only fallback: linked-device support uses an unofficial client library. For Telegram, create a BotFather bot and keep its token private. A small test is sensible for either channel.
1. Create your account
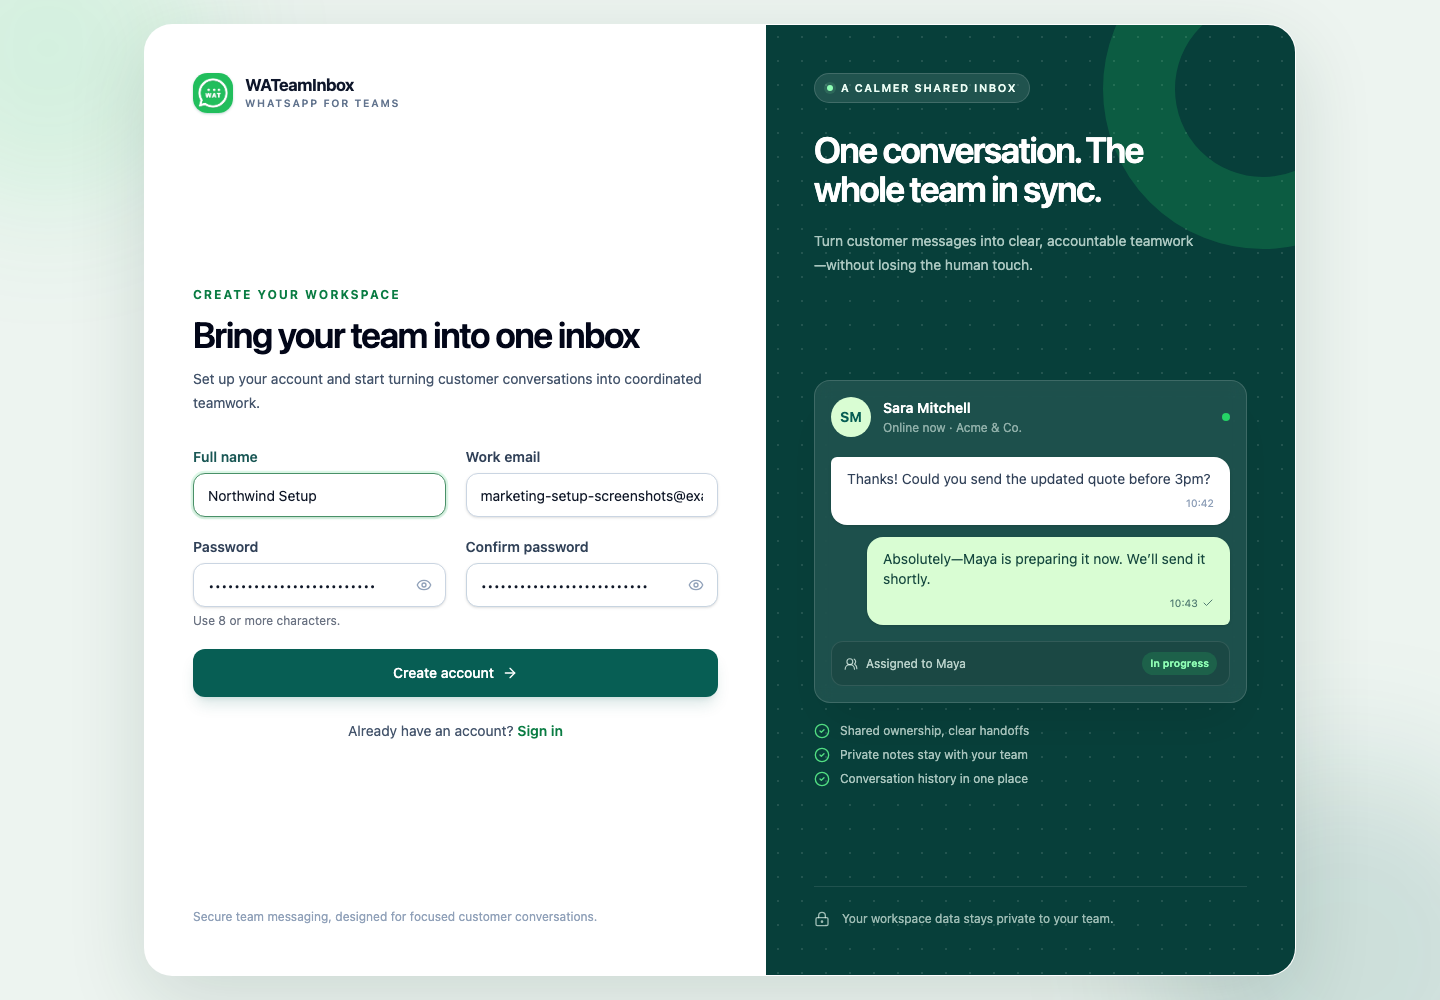
Open WATeamInbox Cloud and fill in your name, work email, and password. The registration screen is short because the workspace details can come next.
Check your inbox for the verification email. If it does not arrive, look in your spam folder and make sure the address was entered correctly. You need a verified account before you can continue with workspace setup.
2. Name the workspace
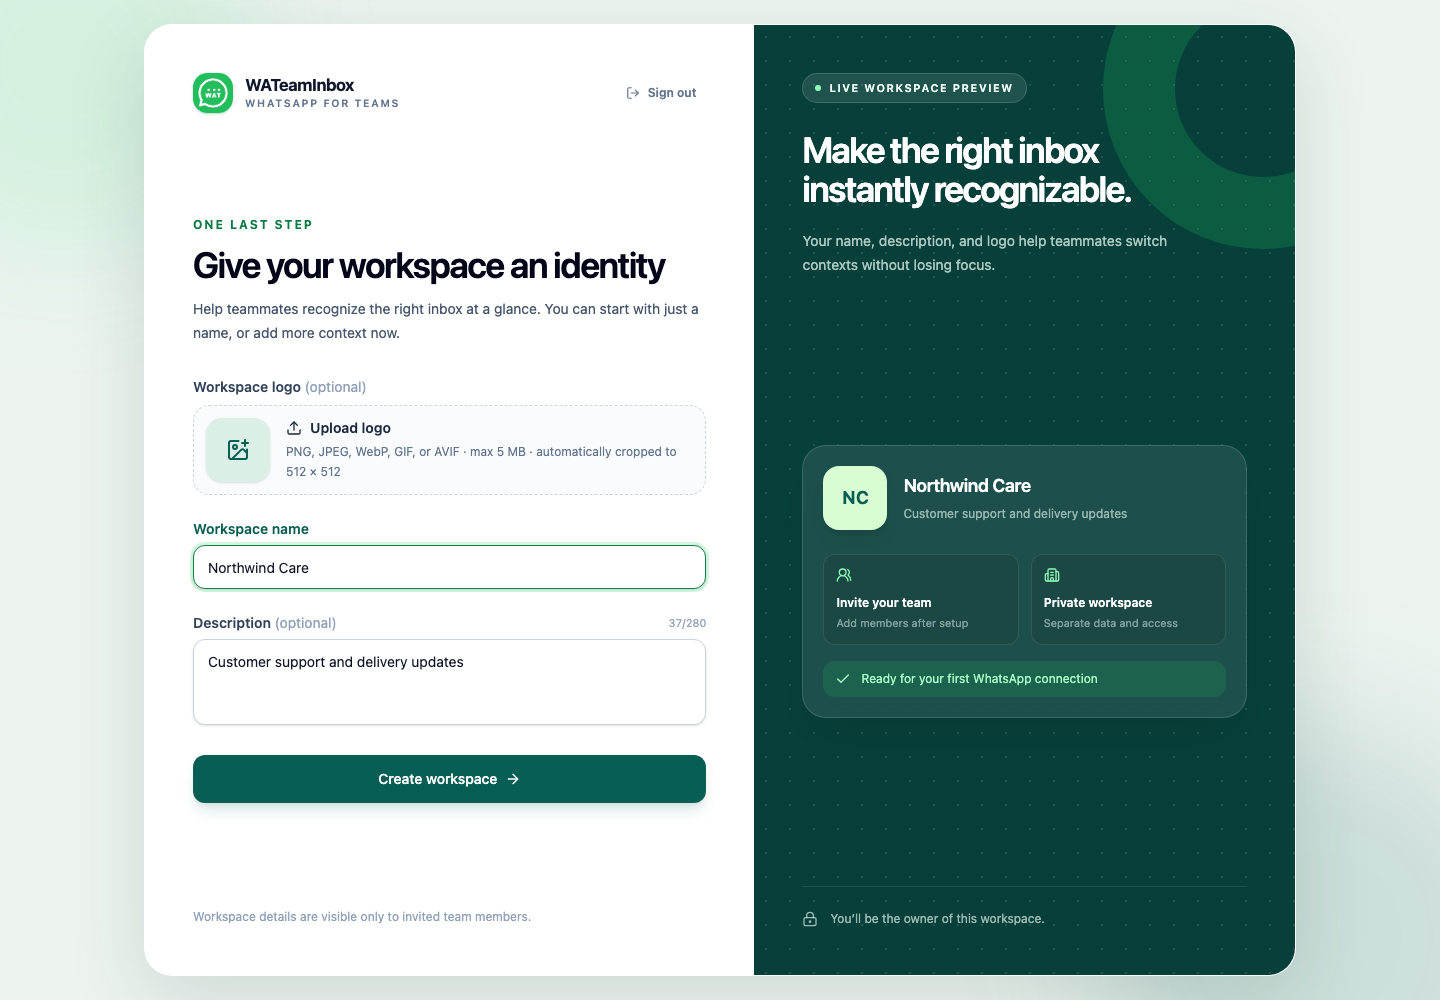
Choose a name that will make sense when your team sees it in the workspace switcher. A company name, shop name, or support team name usually works better than a personal nickname.
Keep the first workspace focused. If you support several brands, departments, or channels, start with the one that has the clearest workflow. You can learn what the team needs before you expand the setup.
3. Connect one channel
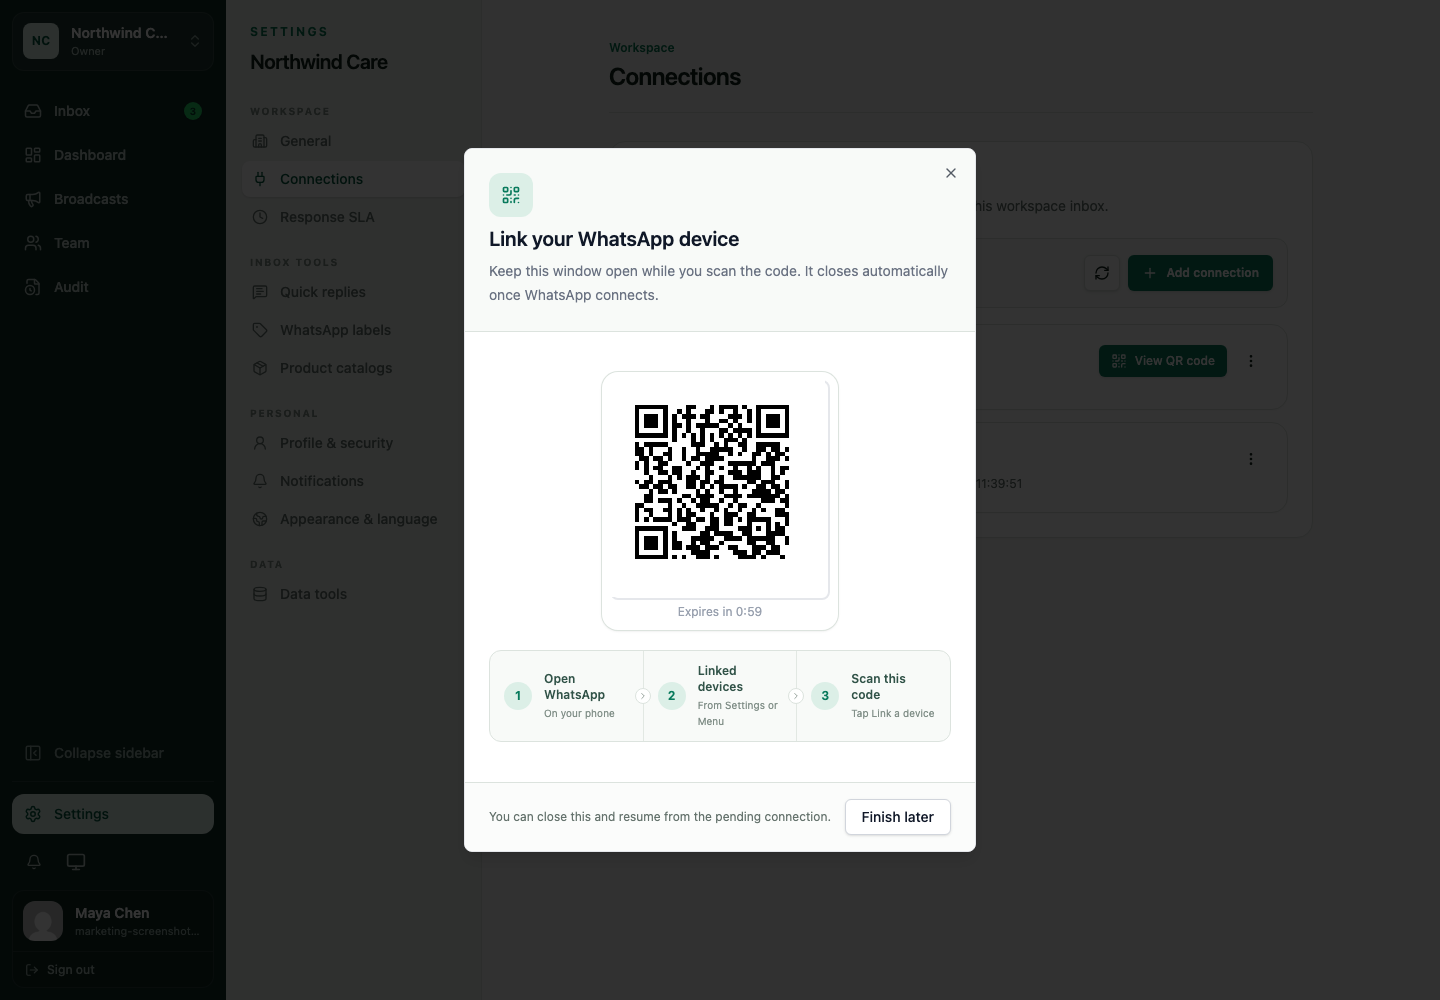
Once the workspace is ready, open Settings → Connections and choose a provider. Pair WhatsApp with a QR code—the WhatsApp connection guide shows each step—or add a Telegram bot with its BotFather token.
For WhatsApp, let the first history sync settle before judging the inbox. For Telegram, open the bot as a customer, tap Start, and send a test message; bots cannot initiate a conversation with an arbitrary Telegram user.
4. Invite one teammate
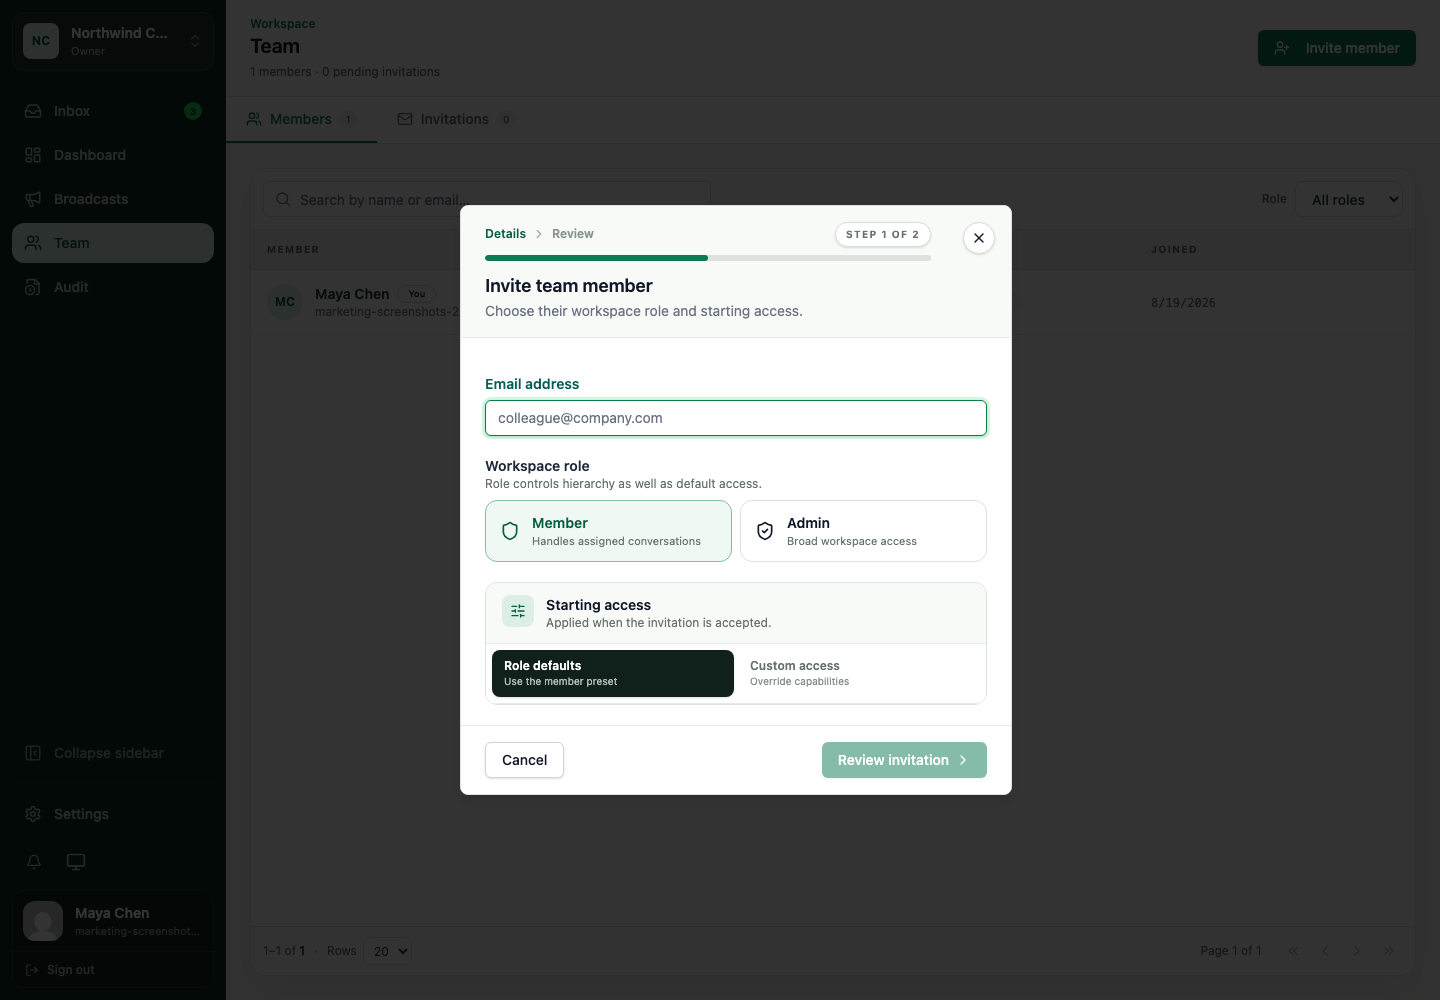
Open Team, invite one person who regularly answers customers, and choose the starting role and access. It is easier to agree on assignments and notes with two people than with a whole department watching at once.
Use the team invitation guide if you want to review the role choices before sending the invite.
Your first useful test
Send or receive one real, low-risk message and try this sequence:
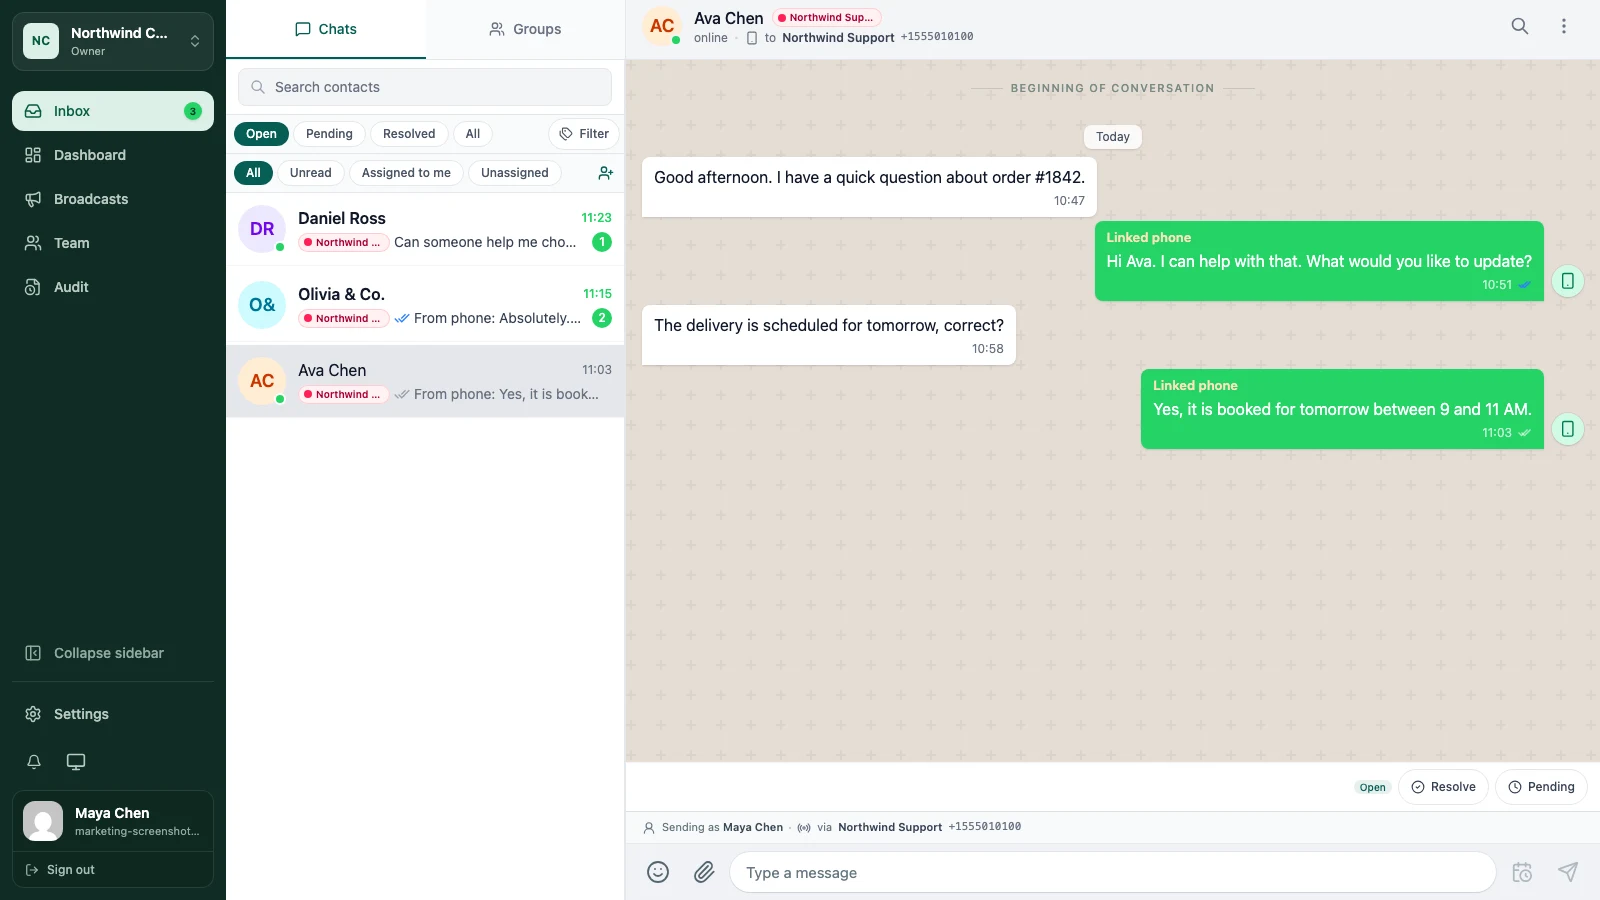
- Open the conversation in the shared inbox.
- Assign it to one person.
- Add a short shared note about what happens next.
- Reply from the inbox.
- Resolve it when the request is complete.
That small loop tells you more than a long tour of settings. If it feels natural, invite the next teammate and repeat it with a real handoff.
Cloud or self-hosted?
Cloud is the managed option, so your team can start without preparing servers. If you prefer to operate the application and data yourself, the self-hosting documentation covers the open-source edition.
Create a Cloud account, or compare Cloud plans before you connect a business channel.
Keep going
Try the workflow with one real conversation.
Create a small Cloud workspace and test the handoff with a teammate, or use the open-source application on infrastructure you control.